It took a me a while to find the pictures of how the
Sony MEX-BT3800U
got installed in my Mitsubishi Endeavor, but here they are now!
Pull from the bottom left side a little bit:
Now from the top right side:
Now from the top left:
At this point it has detached from the dashboard, and you can now pull from the top a little bit:
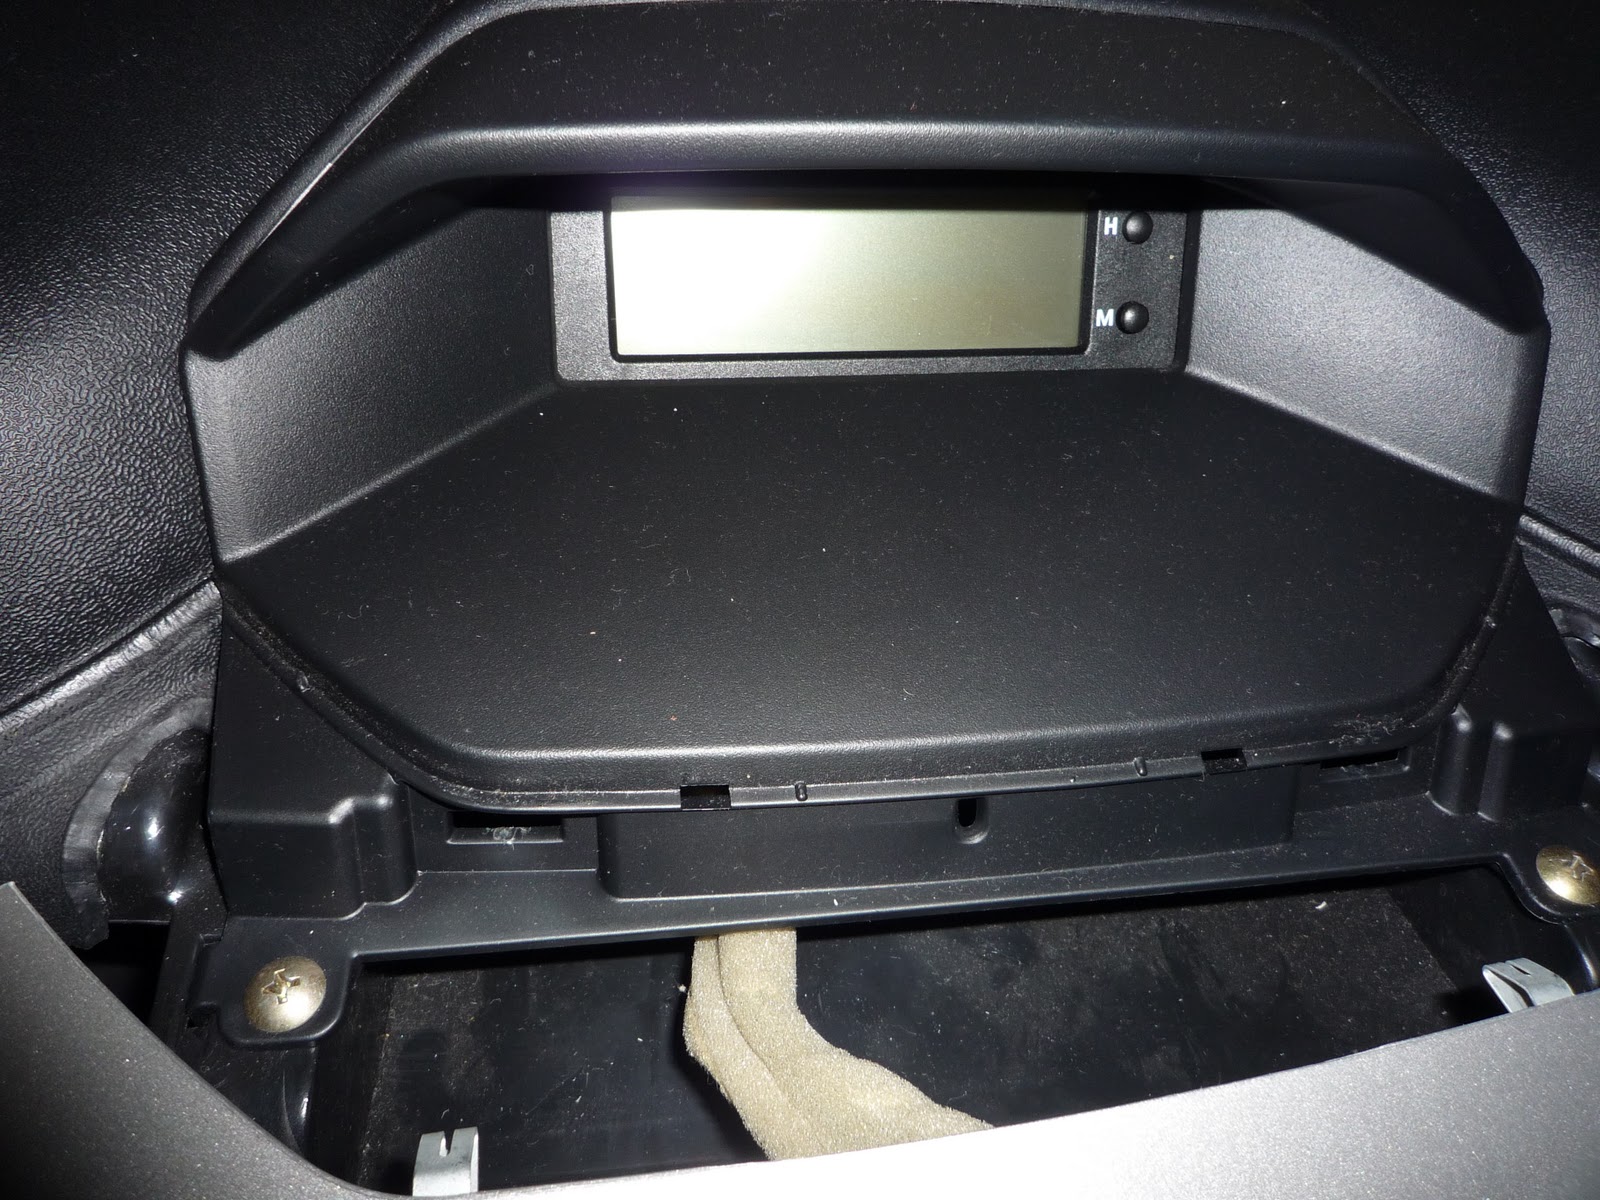
So far so good; now we have to remove that pair of screws you can see on the top, and with it we detach the cover of the clock/fm lcd:
You see those 2 black wires & the one with foam? Now if we look at this from the top, you can see they are attached to the grey metal cover, so manually unplug each one of them from the white plugs:
Ok, so after that, we can fully remove the grey panel!
Missing from this picture is the old stereo, which would be in the center slot; you'd proceed to remove the front 2 screws to take it out, and the ground cable.
To attach it back, follow the steps in reverse, and push it in the end towards the dashboard.
Disclaimer: You may burn your vehicle electronics! Detach at your own risk!
And the final product:


2 comments:
Hi,
did you change out the amplifier at all? I have the same issue with the stock stereo in terms of no aux input. The stock stereo started popping and crackling even when off. We replaced the stock radio but it still happens now and then.
No, basically ended up using the new radio as the amp, it's good enough for me.
The stock radio had to be completely removed so I could pass the ground cable form the new stereo to the ground connection (there may be another one but didn't want to break a lot of stuff).
Post a Comment